

Can You Use Garden Shed For Chickens
Get the help you need to plan a productive year on the homestead! Grab your FREE Homestead Project Planner HERE. Thanks for visiting!
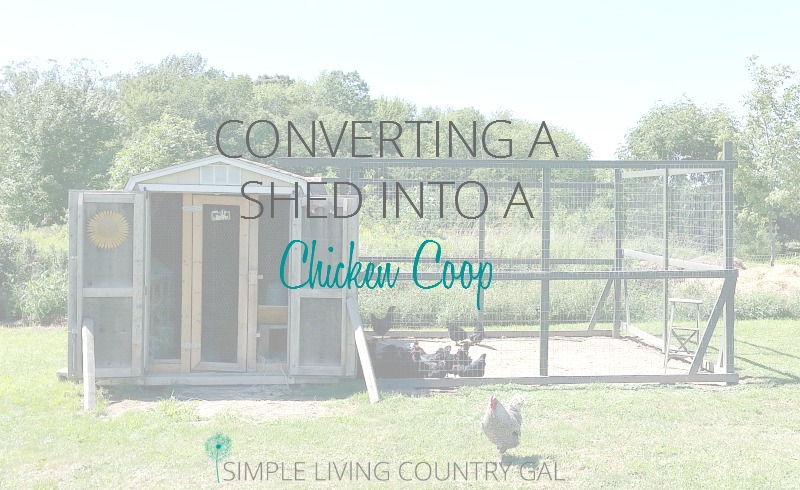
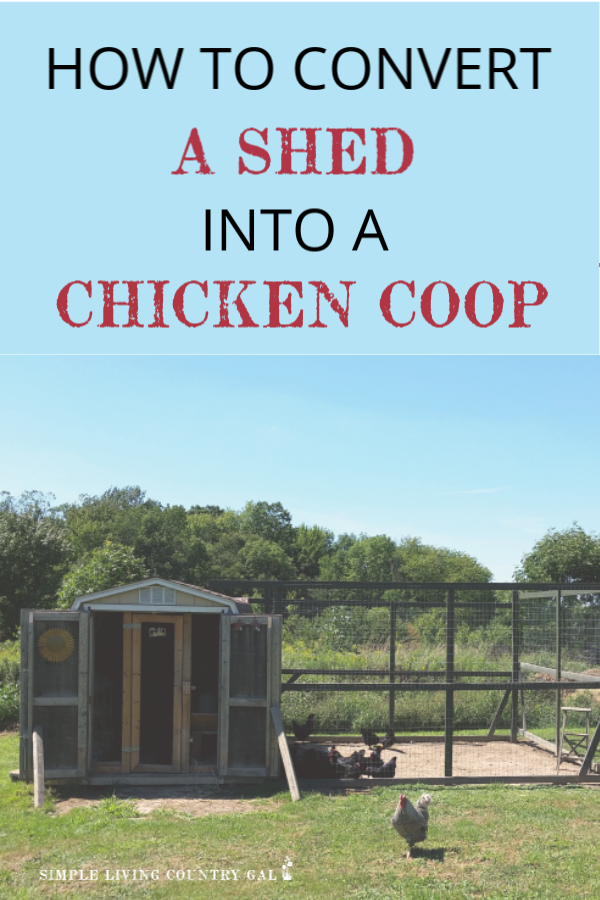
It is important when choosing what to house your chickens in that you pick a place that your chickens will not outgrow too quickly. This post will walk you through converting a shed into a chicken coop without investing too much money into the project.
Raising chickens is an addiction . Sure you start out with two or three, but then before you know it you have a whole flock running around your yard.
If you want to let your hens free-range, you need to be careful where you put your coop. Chickens poo, a lot and they do it anywhere they want without any concern for us barefoot walking people.
If you are not careful, in no time at all, walking through the grass is like navigating a minefield especially if you are in bare feet! So choose carefully the location of your chicken coop….and that is all I am going to say about that. Ahem.
We used to house our pigs in a 10 x 13-foot shed but as we soon found out, raising pigs is an addiction as well and we outgrew that shed rather quickly.
The good news is I could reuse the shed as our chicken coop. The bad news is it was in the wrong spot and needed to be moved to the other side of the property. That task alone was a day-long event.
Actually, all in all, the whole project took a week. One day to "de-pig" the shed (AKA, shovel, hose, scrape, hose, sweep and hose once more), one day to move it, one day to build the inside pen and two days to build the run. Luckily the cost was minimal. $25 in lumber and $15 in chicken wire. The rest of the materials we had on hand already.
I pride myself on repurposing anything and everything I can. I would much rather use up the scraps and supplies we have on hand rather than buy new. Above all, for me at least, functionality is my number one goal rather than looks.
I would rather have our flock of chickens in a safe and warm coop without putting all of my focus into if it will grace the covers of Better Homes and Gardens.
So back to the topic. I like to do things in steps and I think it is easier to read them that way as well.
Converting a Shed Into a Chicken Coop
Step #1. Pick a Location.
When choosing where to keep your chicken coop and run, location really does matter. Especially in this case, since moving a building this size is probably only going to happen once.
Before choosing the location for your coop there are a few things to remember.
- Chickens love to scratch, meaning they use their feet and nails to scrape at the ground like a rake. They do this to pull up any bugs and worms they can eat.
- They have no regard for your plants. This includes flowers and vegetables and fruits. They are an eating matching in a sense and they will pay absolutely no attention to what they may be destroying in the process.
- They can be quite helpful in areas that you need to be cleared out and cleaned up. They are like mini rototillers and if guided just a bit with fencing you can use their scratching as a benefit.
Remember, chickens can quickly and quite efficiently destroy a newly planted garden or flower bed in record time so taking precautions is advised if you plan to house your chickens near a flower bed or garden. With that being said, chickens are a dream at breaking up a garden in the spring turning solid ground that sat all winter long into a fine and wonderful soil that is perfect for spring planting.
As long as you have an efficient fence on your outside chicken run you will be fine housing your hens next to your garden. If you free-range your chickens, then you will want to change tactics a bit and instead fence your garden in to keep your hens out.
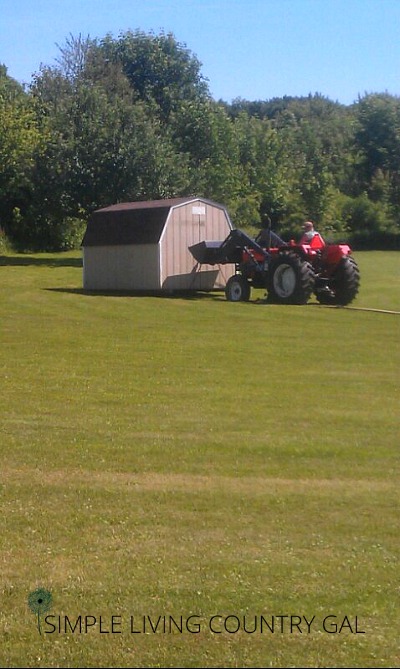
Step 2. Move the Shed
First, as I said, we needed to move the shed to the other side of the property. Not an easy task when you are talking about roughly 850 pounds. To help we used heavy chains that we were able to attach to reinforcement boards that were underneath shed. Those chains were then attached to the bucket of our tractor.
Next, we used logs as a sort of rolling bed to better help with the movement of the shed. This also helped to keep the damage of our yard to a minimum.
As the shed progressed we would shift the back log to the front and so on. This was a very slow process but it allowed us to move this heavy shed more easily.
Step #2. Stabilize the Base
Use sand to level the ground where you plan to keep your coop. Use concrete blocks at the corners and the middle of the shed being you have things as level as you can get them. Using blocks as risers, you will be better to keep the shed up off of the ground protecting the floor and base from deteriorating on the moist ground.
SLCG PRO TIP: Be sure you have no holes or cracks in the floor of the chicken coop that may allow in predators.
READ: HOW TO PREDATOR PROOF A CHICKEN COOP
Step #2. Set Up the Interior
When you set up the inside of your coop you will need to make sure you have room for a roost, feeder, water, and nesting boxes. As a guide, a hen needs 2-3 square feet inside of the coop and 8-10 outside in the enclosed run. Keep this in mind when choosing the size of your coop for your flock's size now and for any future growth, you may have as well.
READ: HOW TO SET UP A FEED ROOM
If room allows I suggest an area for storage to make feeding time easier but this is not necessary. When our flock was smaller we housed the food in our coop inside of a steel barrel to keep out pests. Now, however, we keep food for all of our animals in a feed room inside of our barn. Yes, that means I need to bring all the supplies with me each time I do chores in both the winter and the summer. Again, something to keep in mind when choosing the location of your coop.
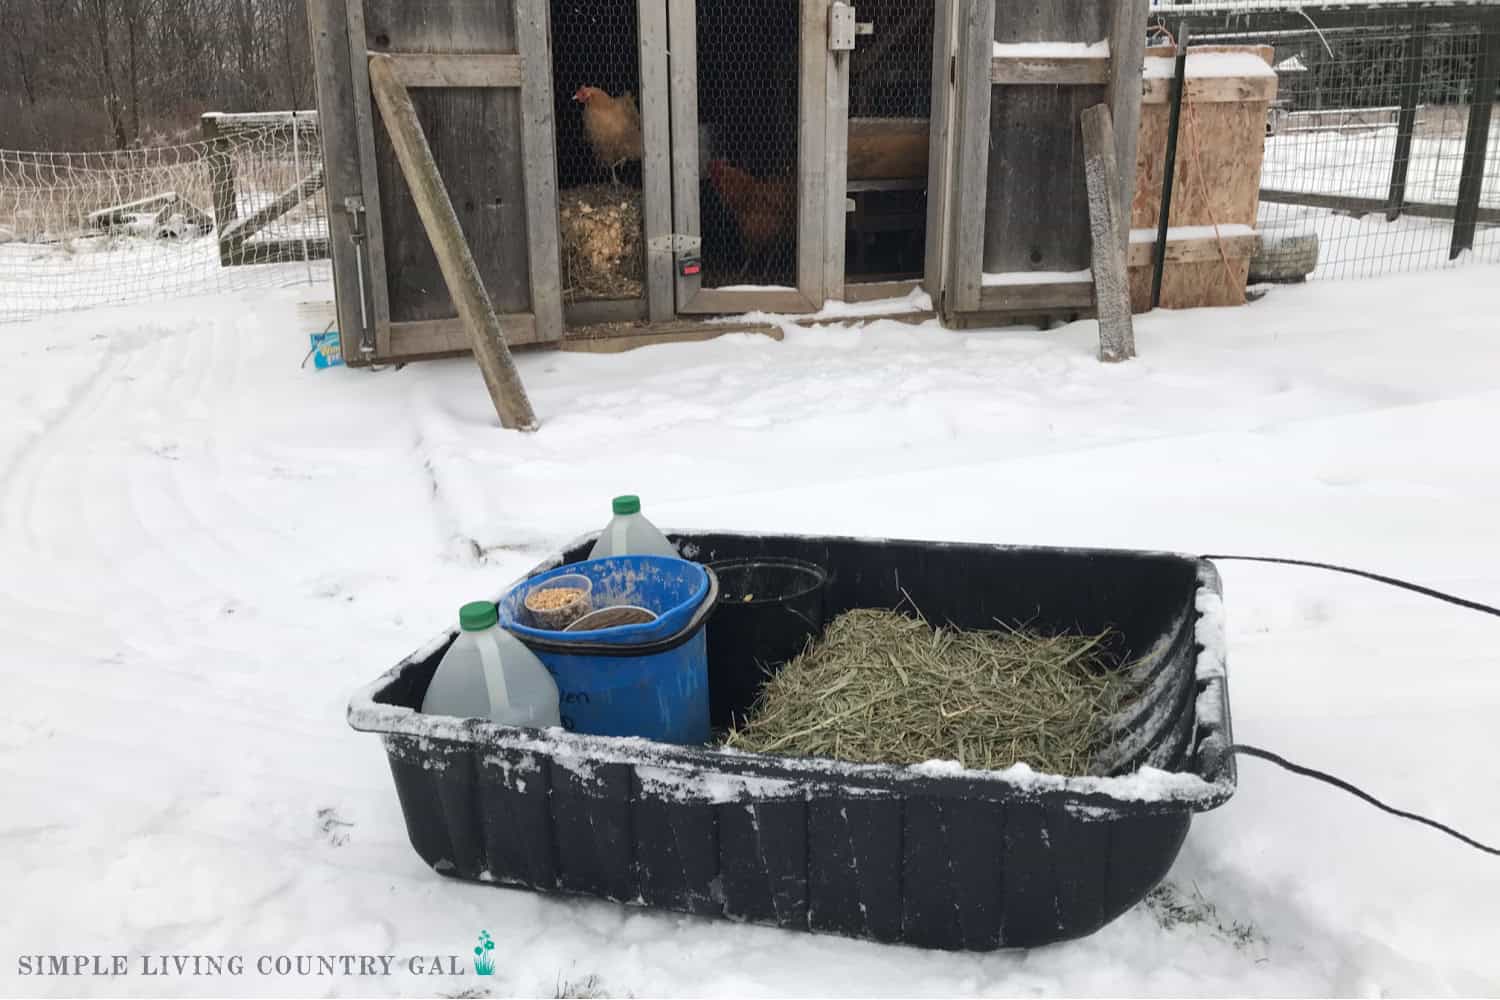
Winter chores are much easier to do with a utility sled and summer with a wagon.
Step #3 . Construct a Wall and Door
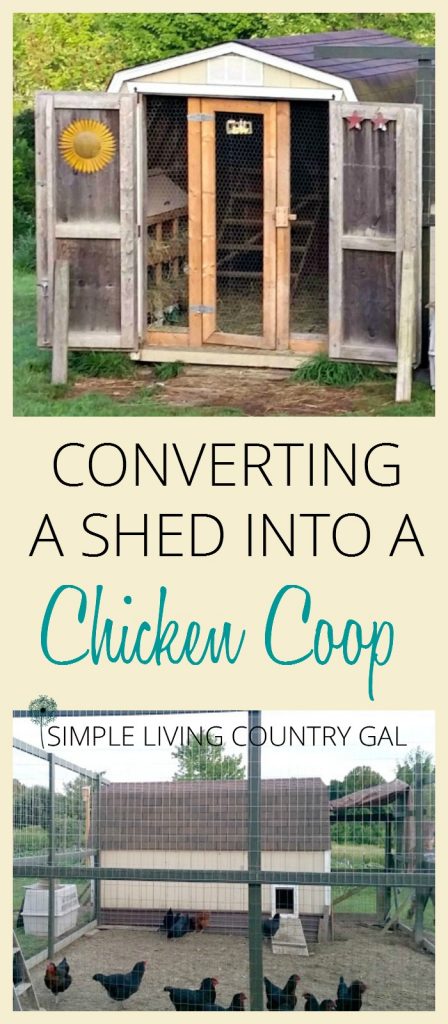
Once the shed is leveled and settled into place you will want to customize the inside just a bit. Lucky for me, my wonderful father who was visiting us on vacation stepped in to do the interior renovations. He built a framed wall with a door that was all covered in chicken wire that we stapled into place.
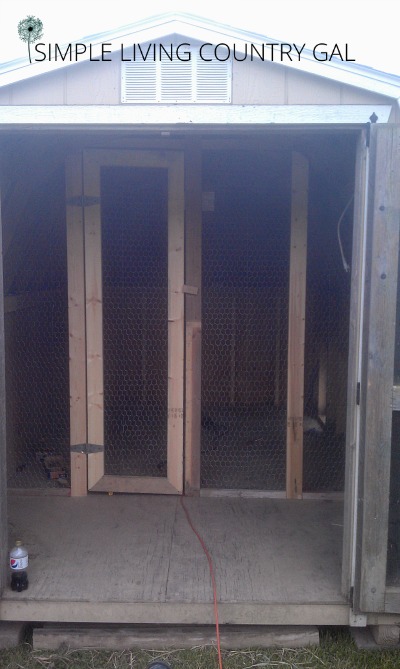
When you build your coop it is important to make sure you have enough room for all your birds to prevent hen-pecking.
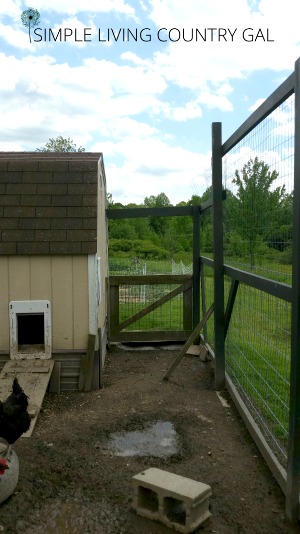
Step #4. Have Safe Access to Your Outside Chicken Run.
Next, you will need to have a door or other access to the outside run. One that you can close up at night to ensure your entire flock is safe. Not only do you want to make sure your hens can't get out unless you want them too, but you also want to be sure that nothing can get in that may harm them.
For us, an old doggie door was perfect and we installed it in the back corner of the coop. This allows me to easily close things off at night keeping any nocturnal predators out and away from our precious flock.
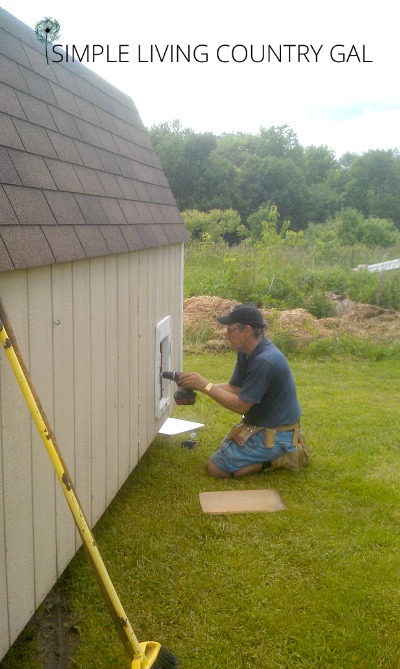
The chickens took to that door right away and it has really worked well all these 8+ years. Easy to let the hens in and out and secure enough to keep them safe each evening. It does let in a bit of cold, but we have since learned to insulate for the winter and that has helped quite a bit.
READ: HOW TO KEEP CHICKENS WARM IN THE WINTER WITHOUT ELECTRICITY
![I must say it works perfectly![spacer height="20px"]](https://simplelivingcountrygal.com/wp-content/uploads/2016/05/shed-to-coop-dog-door.png)
Step #5. Nesting Boxes
I suggest adding these in first since your nesting boxes are going to be the biggest item inside of your coop.
What is a nesting box?
A nesting box is where your chickens will go to lay their eggs. This can be a box, bucket, even an old milk crate. Hens prefer a bit of privacy when egg-laying so by having a few nesting boxes inside of your coop you will keep those eggs safe and protected until you can collect them.
You will want to have a slightly private area yet make it somewhat easy for your hens to get in and out of. Don't worry too much about height, hens can fly surprisingly high and will easily be able to "jump" up to a box that is off the ground a bit.
When choosing the location for your nesting boxes try to place them in a spot that is free from drafts, rain, and snow. A corner may work for your set up or off to the side as we do in our own coop. Know the direction of the wind will help you to better choose a dry and warm area for your hens to lay their eggs.
READ: Build Your Own Nesting Boxes
![Once the boxes are in, it's ready to go! A little bit of hay for comfort is all you need. I just love this design, the plastic crates are very easy to clean, the frame is extremely light weight so I can move it in and out very easily by myself and the hens really love it as well and fit very comfortably. I have even found two hens in one crate together just as happy as can be![spacer height="20px"]](https://simplelivingcountrygal.com/wp-content/uploads/2016/07/clean-nesting-boxes.jpg)
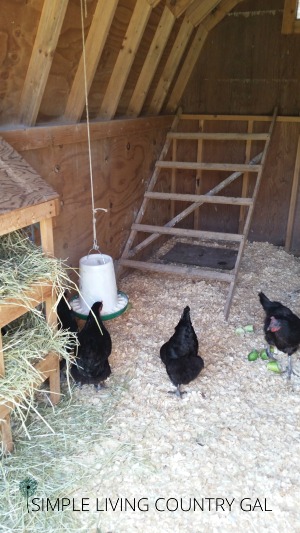
Step #6. Chicken Roosts
Next, you will want to add in a few roosts for your chickens.
What are chicken roosts?
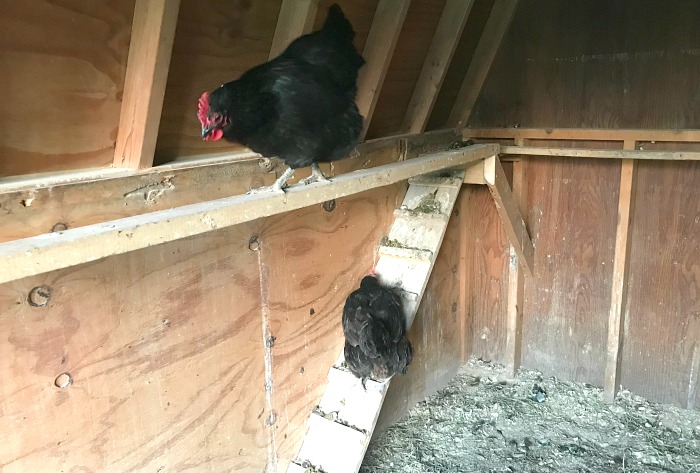
A roost is a place for your hens to stand on so they can sleep safely at night. Chickens prefer to be up off of the ground while they sleep. It is their instinct to do so and helps them to feel safe after dark. For this reason, you will want a roost that is large enough to hold all of your hens.
You can use a multi-leveled roost if you have the room or one straight long roost if you are short on space.
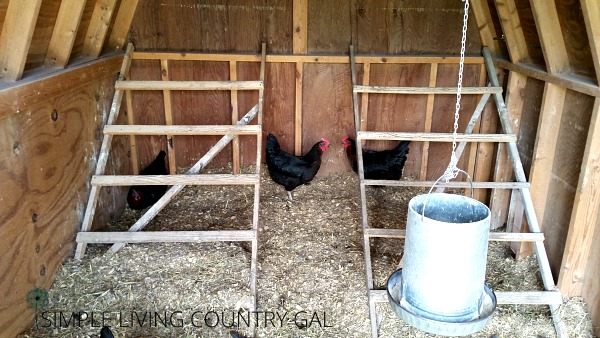
We built two separate roosts with scrap pieces of wood both that were ladder-shaped and hold the girls quite well.
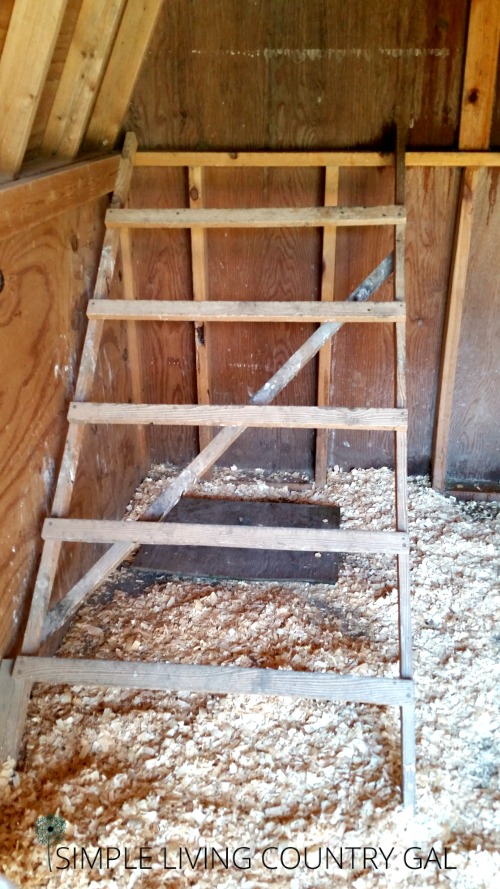
We used this ladder system for many years but have since moved to a one leveled border-style run that frees up a lot more space in the chicken coop. Overcrowding can cause hen pecking in a flock, something we try hard to avoid. By freeing up plenty of space in the coop we have cut down on aggression with our hens.
READ: CHICKEN ROOST 101 – EVERYTHING YOU NEED TO KNOW
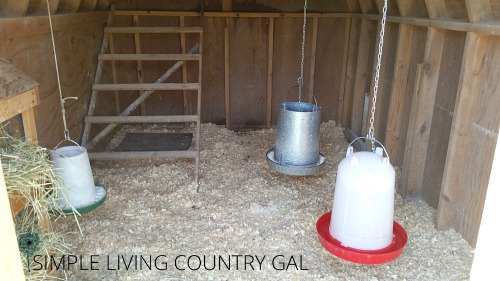
Step #7. Hang the Waterer and Feeder
I highly recommend hanging both your waterer and your feeder as this really cuts down on waste.
Chickens like to scratch all the time and when they do they kick up bedding that can get tossed into their water or feed.
What is scratching?
Scratching is how chickens forage for food in the ground both inside of the coop and outside. Chickens use their feet to rake at the ground to uncover bugs, worms, and bits of discarded food. Scratching is also relaxing for the chicken. So if you see lots of scratching going on, odds are you have a healthy and happy chicken.

By raising the height of their feed and water it will help to keep both free of debris and dirt. Try to choose a height that is easy for them to reach without having to stretch too much. I like to keep things about 8-10 inches off the ground for full-grown hens.
In the summer I use a plastic hanging waterer but with the frigid cold temperatures of winter, I prefer to use a thick rubber water bowl. Water freezes quite easily in the winter and the plastic waterers tend to crack easily when this happens. By using the thicker water bowls I can easily bend it to break up the ice and fill it with fresh water.
You can see why in How To Winterize Your Chicken Coop.
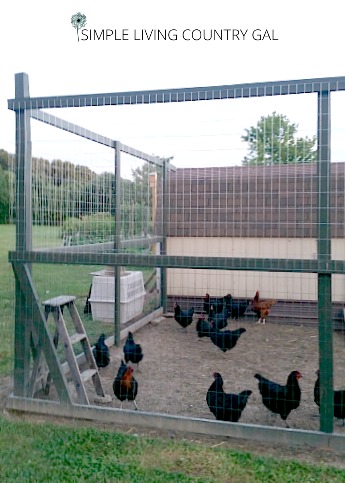
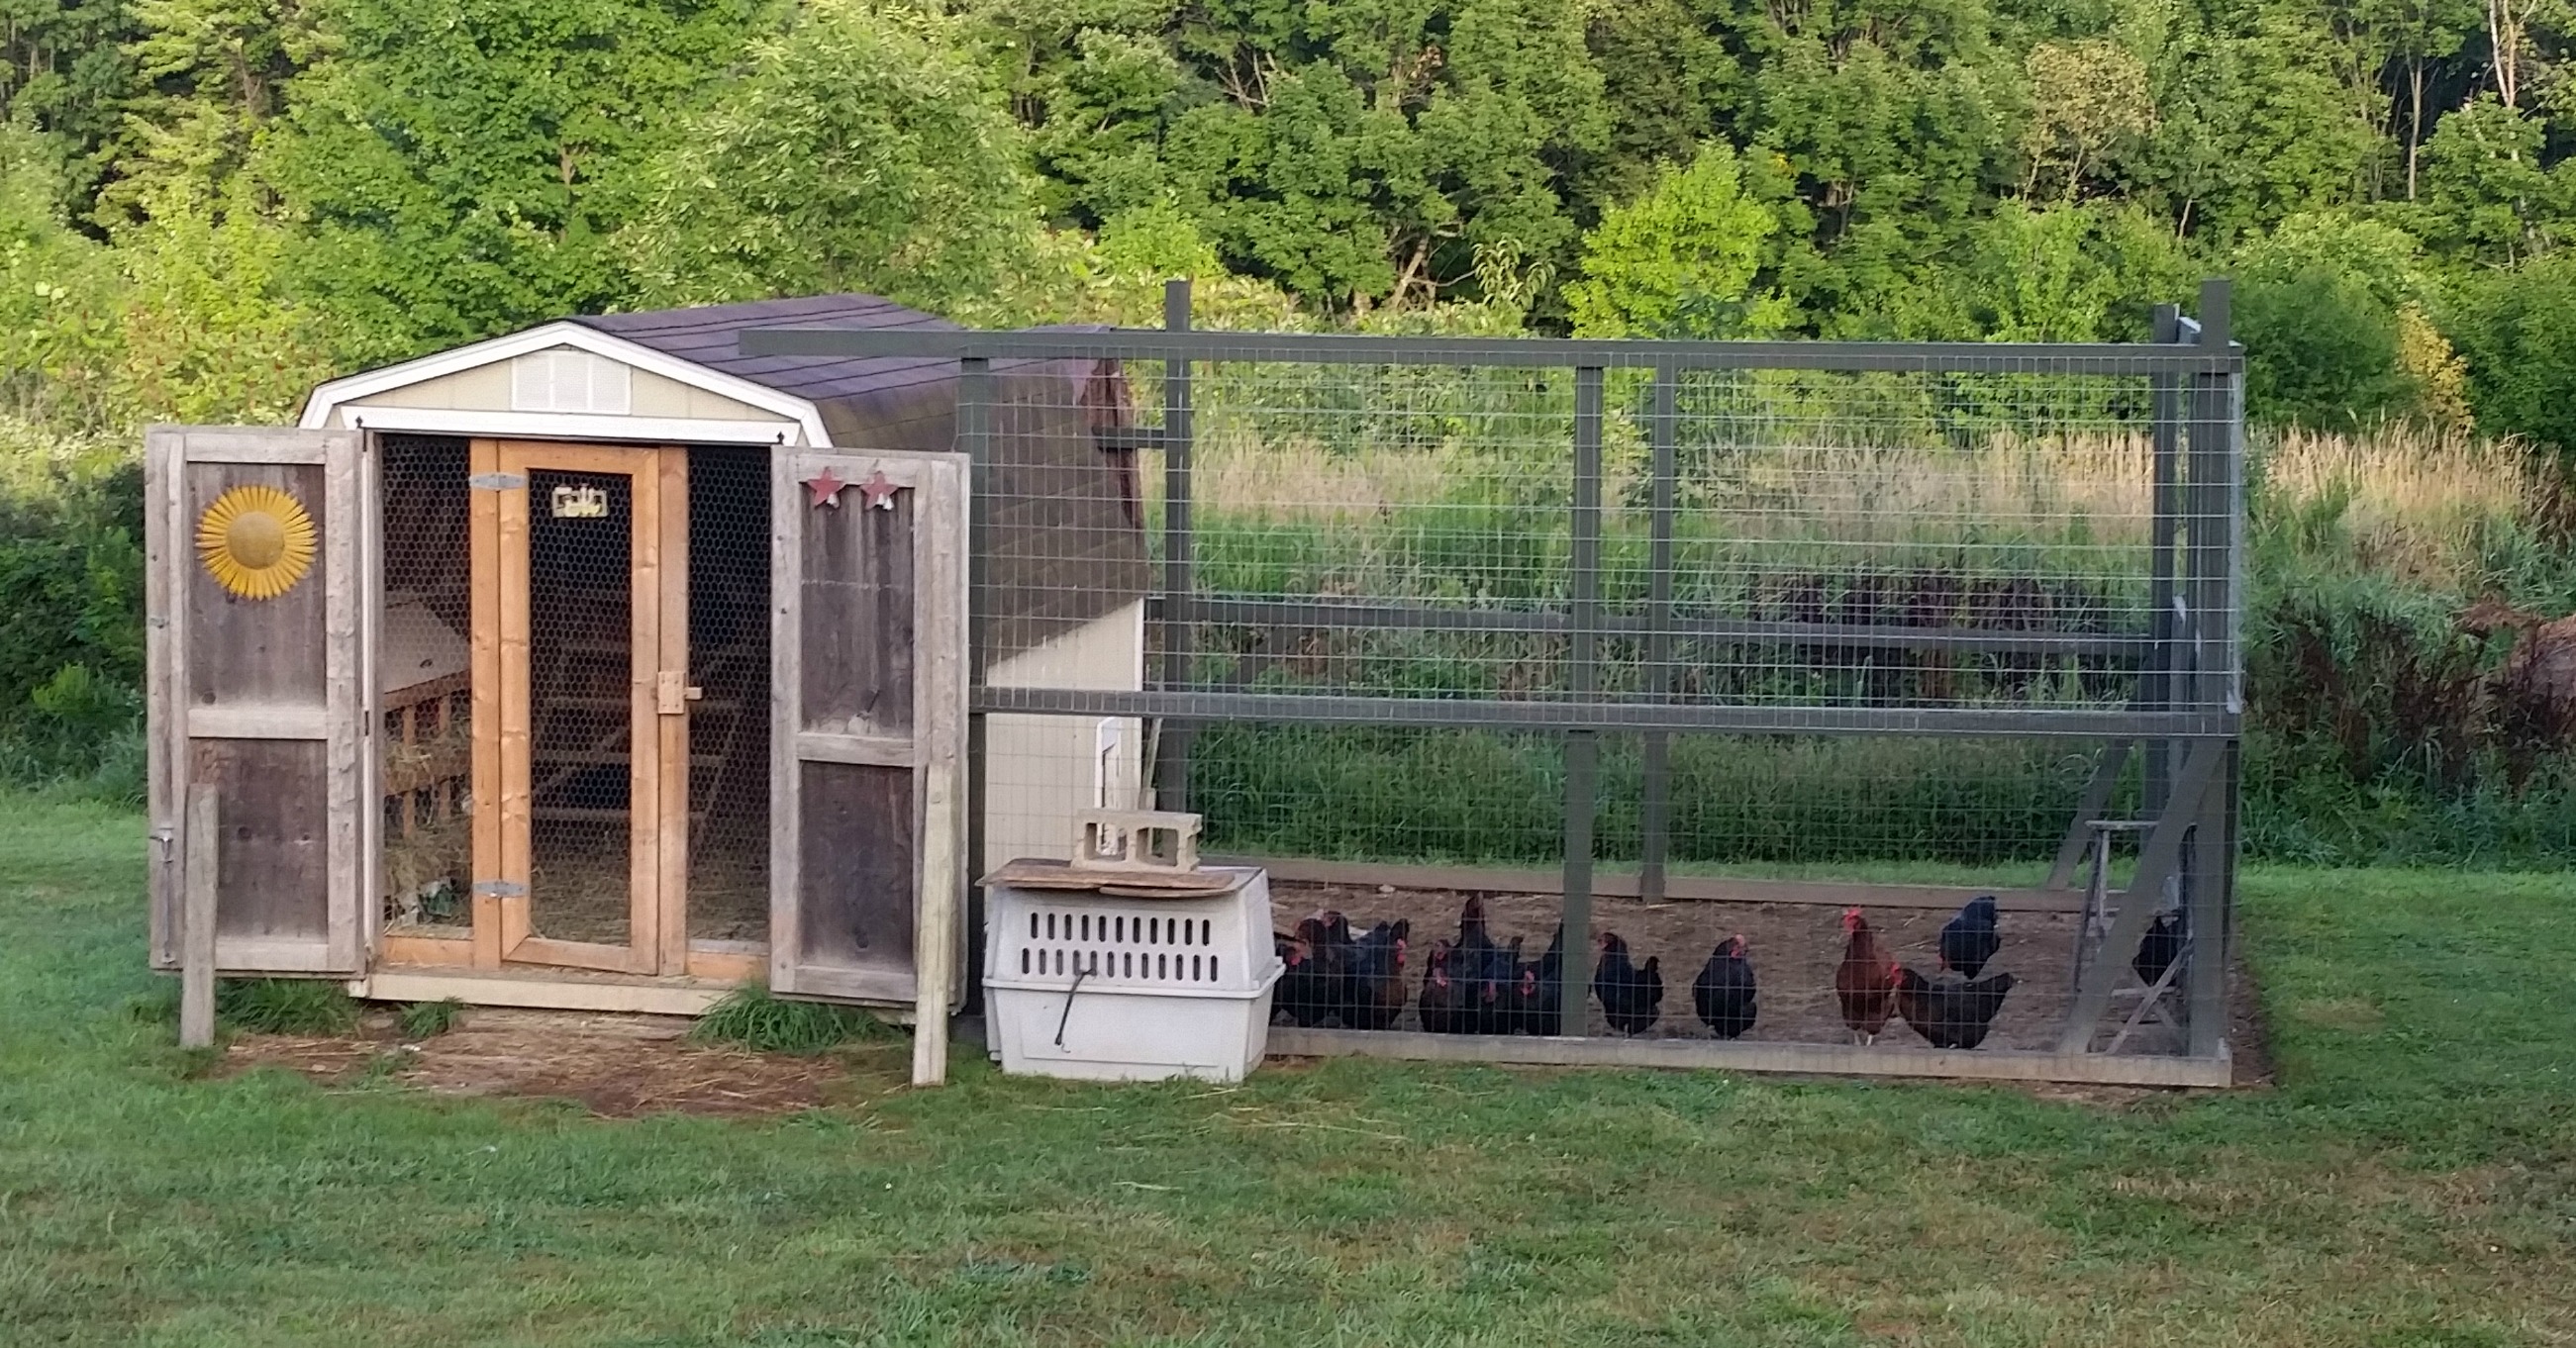
Step #9. Outdoor Run
Even if you plan to free-range your chickens I still highly suggest you build an outside chicken run as well.
Chickens still like to be outside at dusk and even early dawn when it's starting or still is dark. There are quite a few predators out at that time so having a safe outdoor chicken run for them to browse in is always a good idea.
Make sure to include access to the run from outside. Our run needs maintenance quite often since we live in a very wet area, so easy access for us is key.
SLCG PRO TIP: When adding a door for you to use be sure it is a high door so your chickens can not fly up over it and get out. Ours was a waist-high gate like you see in the photo above. We quickly learned that our chickens could very easily hop up and back down to freedom making them vulnerable to all sorts of hidden dangers.
Step #10. Bring in Your Chickens
Once you have everything added you can then add in some bedding of your choice. I have tried many things over the years in our chicken coop. This includes wood shaving, sawdust, straw, even sand. For me, wood shavings by far work the best and do a great job keeping the dust down a bit without making it a heavy choice come spring when it is time to clean the coop out.
CONVERTING A SHED INTO A CHICKEN COOP SUPPLY LIST
- Chicken Wire – Be sure to get a good sturdy wire that will keep your chickens in and predators out.
- Plastic Chicken Waterer – This one works great if your weather is mild.
- Metal Chicken Waterer – Better for winter months.
- Chicken Feeder – This feeder works great and will last the longest.
- Bedding – I prefer wood shavings because it really soaks up the moisture.
- Doggie Door – A great way to let the chickens in and out quickly and easily.
And here is the final product. Little did I know 8 years ago when we bought this shed for our boy's 4H projects that it would someday be a chicken house for our hens. It's funny how things evolve on a farm. 🙂
Why is it so important to have a strong, sturdy and safe home for your chickens? For many reasons and one of them being so, you can leave knowing your animals will be safe while you are away.
Find out how you can Vacation When you Farm and enjoy the best of all sides of homesteading.

Can You Use Garden Shed For Chickens
Source: https://simplelivingcountrygal.com/converting-a-shed-into-a-chicken-coop/
Posted by: sabalahavock.blogspot.com
0 Response to "Can You Use Garden Shed For Chickens"
Post a Comment